February of 2016 I was offered a squiring by Sir Devon of Ayr which I accepted. Around the same time he had offered to another friend who also accepted. For this friend and myself, Sir Devon and I wanted to make nice dress belts for court and more functional belts for fighting. I haven’t had the chance to work on mine but here is documentation of the process of making the other.
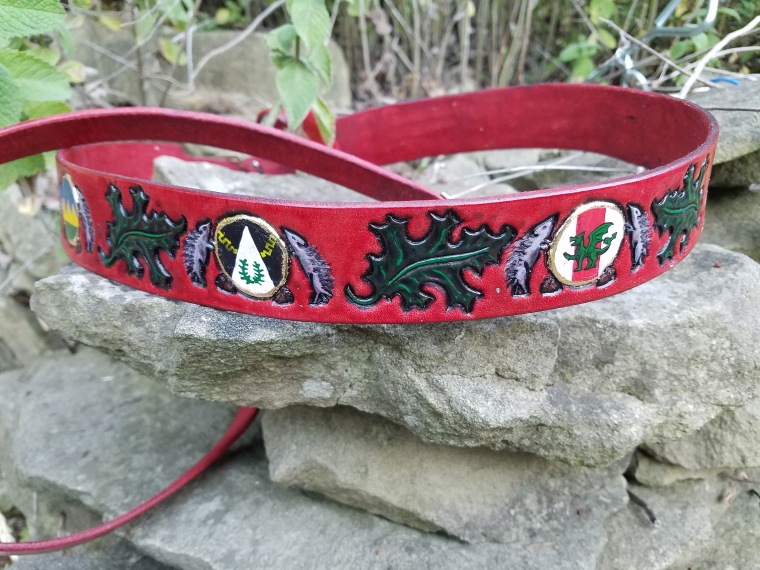
My first step was to interview the recipient about what he would like. We discussed that he finds oak leaves and hedgehogs important to him and intends to incorporate them into his device when he gets that far. I also suggested an idea that I had had about putting a sequence of devices from any affiliations he has as sort of a unique “gate address” as it were. His affiliations would be the Middle Kingdom, Pentamere, Barony of Andelcrag, Canton of Three Hills, and, of course, his new knight, Sir Devon of Ayr. That is 5 affiliations plus two blank ones to fill in later (presumably for a Laurel and Pelican should he decide to go in those directions. The blank two could be for whatever he so chooses and I could add them later.
With that information I began the designing process which took some time. I submitted several renditions to him and had him choose the one he liked most.
I started with a fantastic quality, extra long Herman Oak 1.5″ strip.


Once I got the design tooled and the base red color stained, it was time to paint the design. I use Angelus leather paints (Amazon link). I have had very good luck with these paints. They dry flexible so are fantastic for leather since they don’t crack or flake off. They are designed for fixing scratches on shoe leather so they are very resistant to scratching off. They are also water-based so they are easy to clean up and they also mix well together so you can mix up whatever colors you want.
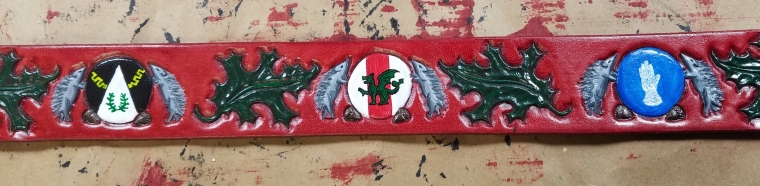


I used black antique gel from Tandy to highlight the hedgehogs and leaves. After that I ended up going back and highlighting the leaves with a lighter green so they didn’t seem like a black hole compared to the rest of the design. The antique really darkened them a lot.
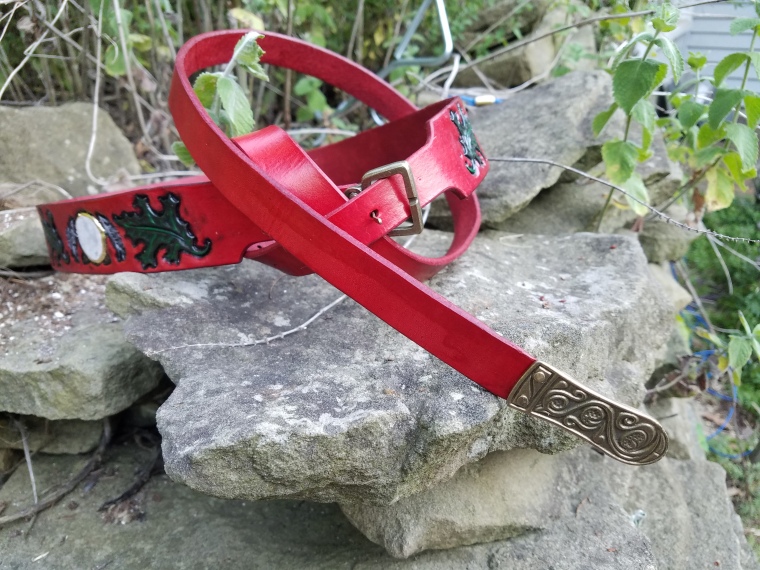
I purchased a replica, period-accurate buckle and belt end and attached them with the included rivets. I then burnished the edges. As a final design step, I decided to gold leaf around the edges of each device. You can see the results of that in the final pictures below. I finished the belt with many layers of Resolene to protect the design and then a few layers of Carnauba Cream to give it a nice smell and buffed it to a shine. The finished product is below. He beamed when I gave it to him. I kept the final design and results hidden from him until the squiring ceremony and also whipped up a little linen bag for him to store it in and protect it.